Cheesecake Factory’s Peppermint Bark Cheesecake

When the holidays roll around, there's nothing quite like Cheesecake Factory's show-stopping Peppermint Bark Cheesecake to make your taste buds sing with festive joy. That perfect combination of rich, creamy cheesecake, crunchy chocolate bark, and refreshing peppermint flavor creates pure dessert magic that has people lining up around the block.
But what if I told you that you could recreate this decadent masterpiece right in your own kitchen? No more waiting in long restaurant lines or paying premium prices for a slice of heaven. This homemade version tastes just like the real deal: if not better!: and will have your friends and family convinced you're a dessert wizard.
Why Make This at Home?
Let's be real: Cheesecake Factory portions are generous, but sometimes you want the whole cheesecake experience without breaking the bank. Plus, there's something incredibly satisfying about creating that Instagram-worthy dessert from scratch. Your kitchen will smell like a winter wonderland, and you'll have total control over every delicious layer.
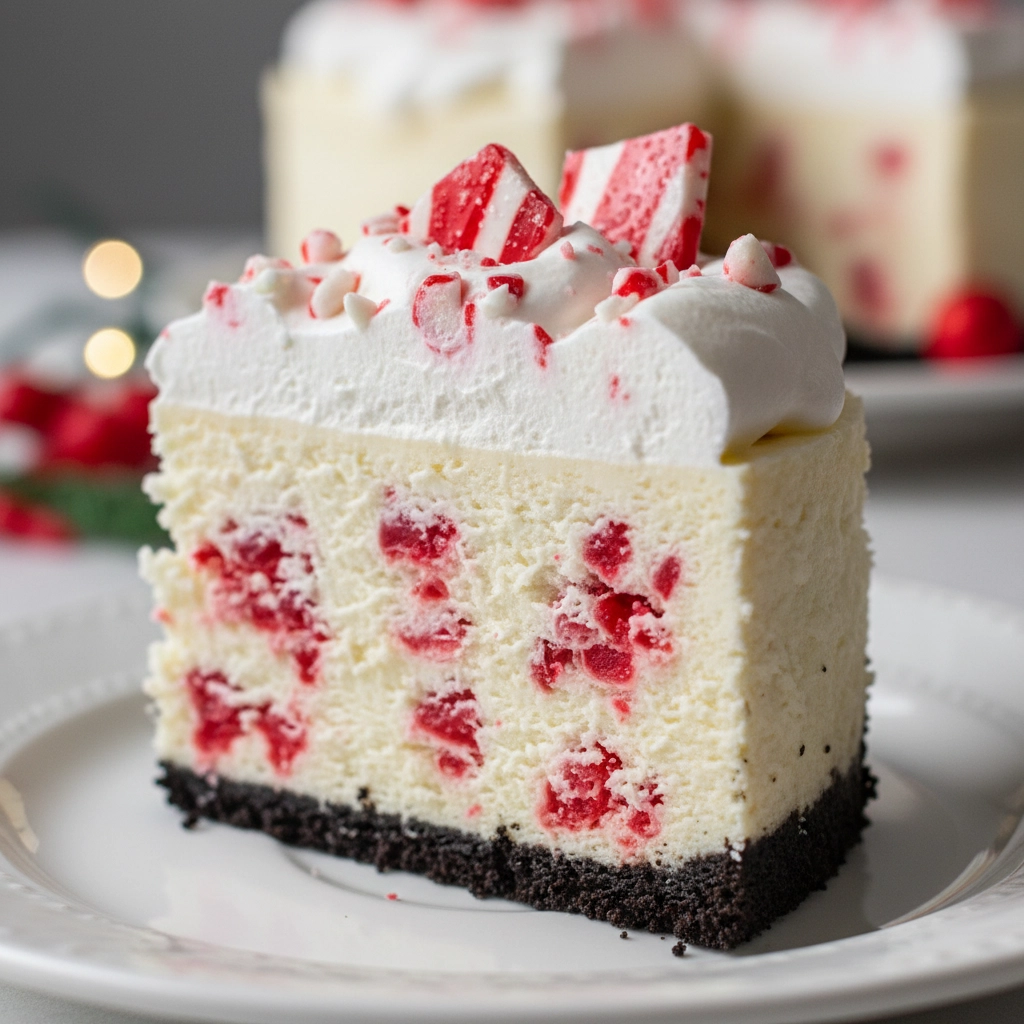
This recipe breaks down into three simple components: homemade peppermint bark, an irresistible Oreo crust, and the creamiest peppermint cheesecake filling you've ever tasted. Each element comes together to create a dessert that's both elegant enough for holiday entertaining and cozy enough for a family treat.
The Secret to Perfect Peppermint Bark
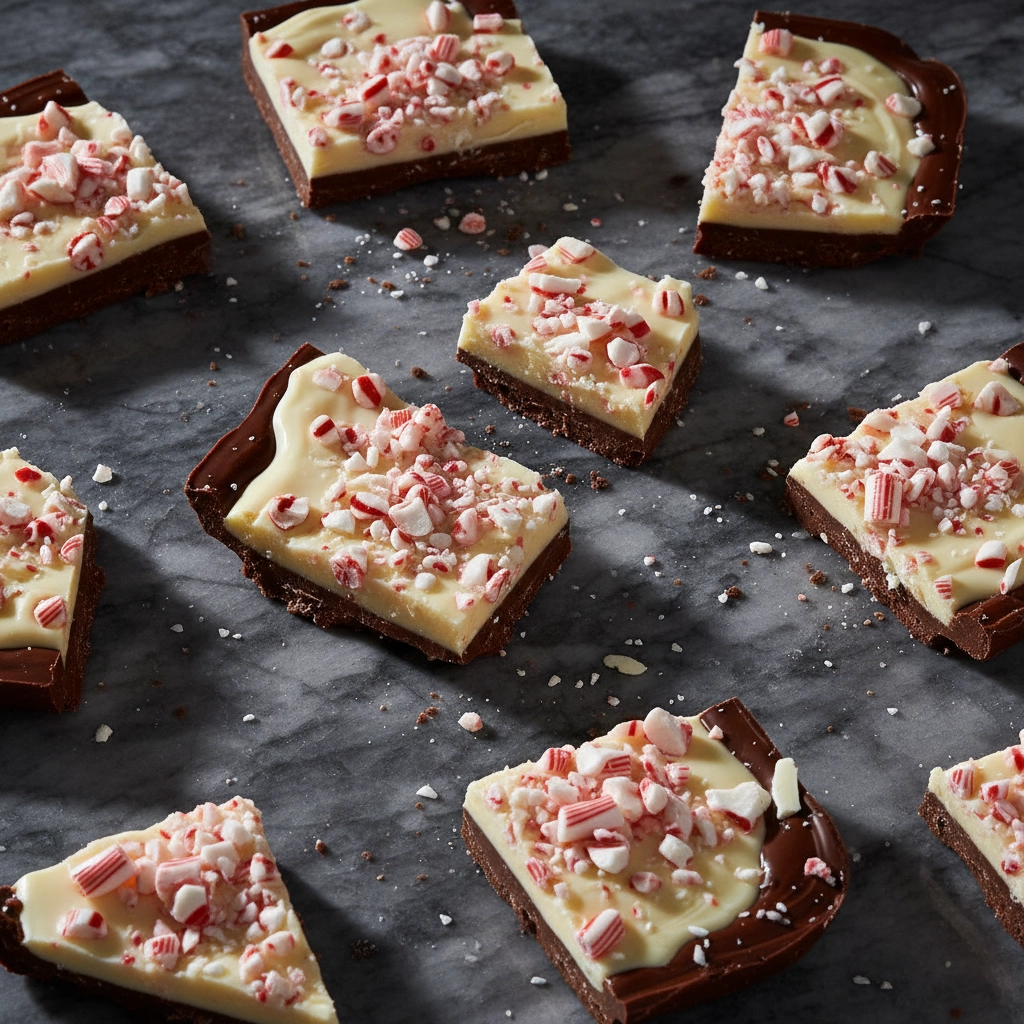
The real magic happens when you make your own peppermint bark. Store-bought versions just can't compete with the fresh, intense peppermint flavor and satisfying crunch you get from homemade. The contrast between smooth white chocolate and rich dark chocolate, studded with crushed candy canes, creates textural excitement in every single bite.
Here's what makes this bark special: we're adding just a touch of peppermint extract to both chocolate layers, which amplifies that cool, refreshing flavor without being overpowering. The key is using high-quality chocolate and real candy canes: no shortcuts here!
What You'll Need
For the Peppermint Bark:
- 4 ounces white chocolate, broken into pieces
- 4 ounces semisweet chocolate, broken into pieces
- 1 teaspoon vegetable oil, divided
- 1/4 teaspoon peppermint extract, divided
- 1/3 cup crushed candy canes
For the Oreo Crust:
- 24 regular Oreos, finely crushed
- 5 tablespoons unsalted butter, melted
For the Cheesecake Filling:
- 4 (8-ounce) packages cream cheese, softened
- 1 1/4 cups granulated sugar
- 3/4 cup sour cream
- 3 tablespoons all-purpose flour, divided
- 1/4 teaspoon salt
- 2 teaspoons vanilla extract
- 2 teaspoons peppermint extract
- 3 large eggs, room temperature
- Chopped peppermint bark from above
Let's Create Some Magic
Step 1: Make Your Peppermint Bark
Start this process about 1-2 hours before you plan to make your cheesecake: the bark needs time to set properly.
Melt your white chocolate with half the vegetable oil in 30-second microwave intervals, stirring between each burst until silky smooth. Stir in half the peppermint extract. Spread this gorgeous white layer onto a parchment-lined baking sheet and pop it in the freezer for 15-20 minutes.
Next, melt the semisweet chocolate with the remaining oil using the same gentle method. Add the remaining peppermint extract and spread this rich layer right over your frozen white chocolate. Immediately sprinkle those crushed candy canes on top: they'll stick beautifully to the warm chocolate. Back to the freezer it goes for at least 30 minutes until completely hardened.
Once frozen solid, break your bark into small, bite-sized chunks. Trust me, you'll be tempted to eat half of it right here: resist if you can!
Step 2: Prep That Perfect Crust
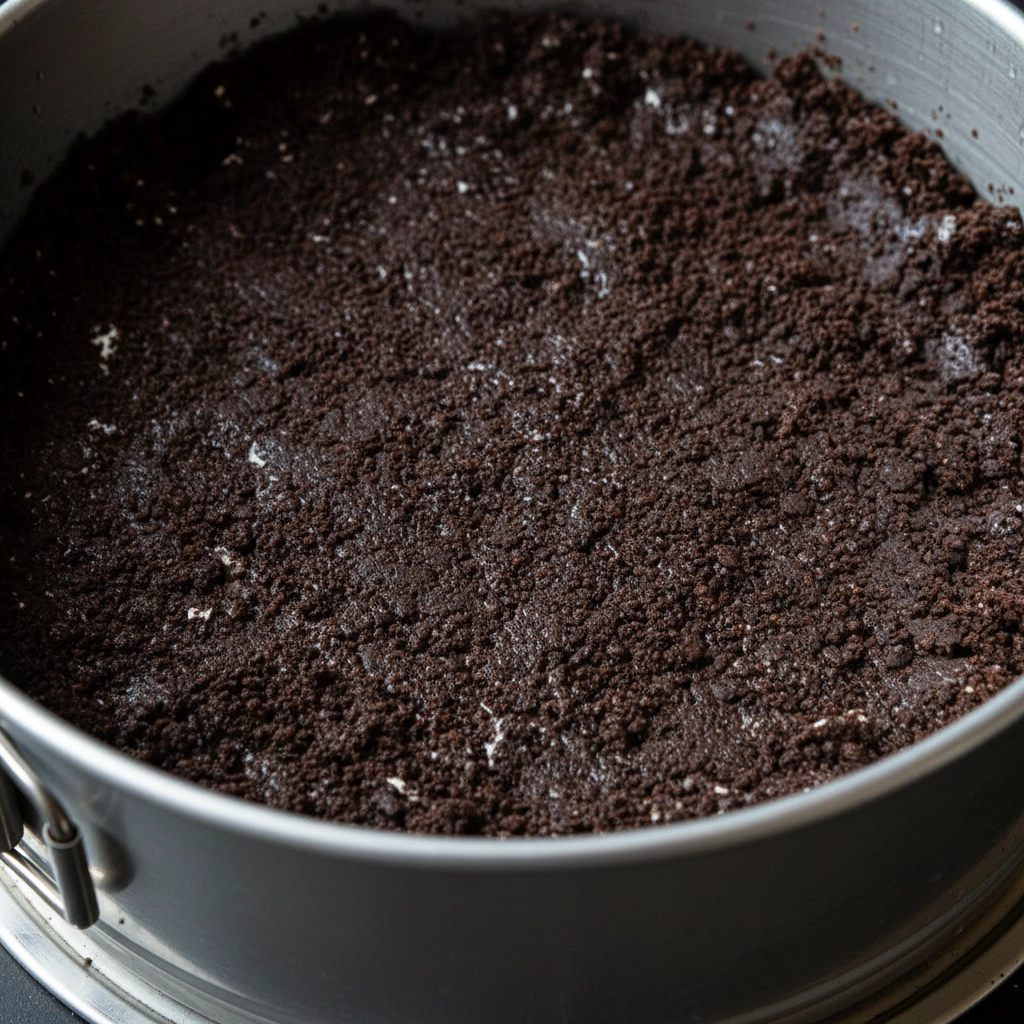
Preheat your oven to 350°F. Crush those Oreos until they're fine crumbs with no big chunks hiding in there. You want every bite to have that consistent chocolatey crunch.
Mix the crushed cookies with melted butter until every crumb is evenly coated and the mixture holds together when pressed. Press this mixture firmly into the bottom and slightly up the sides of your 9-inch springform pan. This creates the perfect foundation for your cheesecake masterpiece.
Step 3: The Star of the Show - Cheesecake Filling
Make sure your cream cheese is properly softened: this is crucial for that silky smooth texture Cheesecake Factory is famous for. Beat the cream cheese and sugar together for 2-3 minutes until completely smooth and creamy.
Add the sour cream, 2 tablespoons of flour, salt, vanilla, and peppermint extract. Beat until everything is perfectly combined and you can smell that amazing peppermint aroma filling your kitchen.
Now for the eggs: add them one at a time, beating on low speed just until combined after each addition. Overmixing here can create unwanted air bubbles that might cause cracks later.
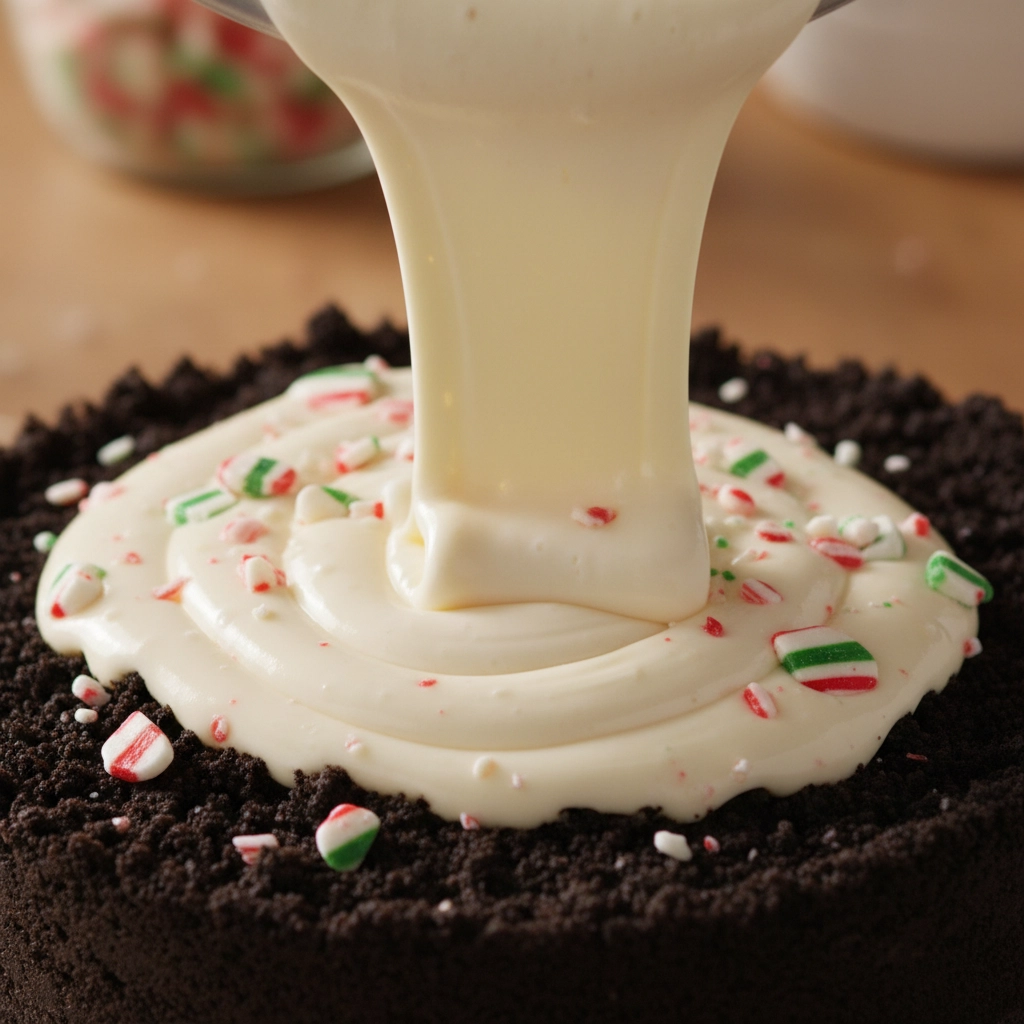
Here's a pro tip: toss your chopped peppermint bark pieces with the remaining tablespoon of flour before folding them into the filling. This prevents them from sinking to the bottom and ensures even distribution throughout every slice.
Gently fold in those flour-coated bark pieces by hand, then pour this luscious filling over your Oreo crust.
Step 4: The Water Bath Technique
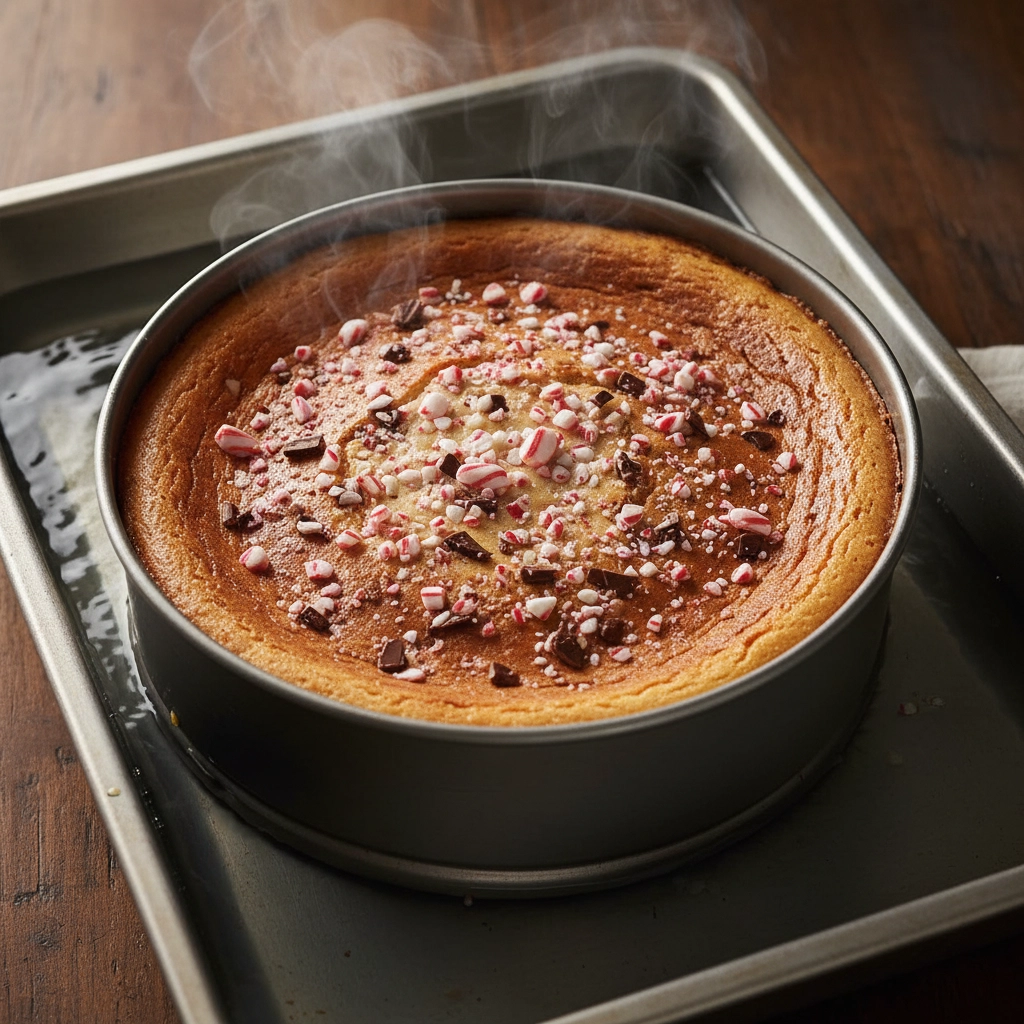
This step might seem fussy, but it's what gives you that perfectly creamy, crack-free cheesecake that rivals any restaurant. Place your springform pan inside a larger roasting pan and add enough hot water to reach about 1 inch up the sides.
Bake for 1 hour and 40 minutes: the edges should be set while the center still has just a slight jiggle when you gently shake the pan.
Step 5: The Cooling Process
Turn off your oven and crack the door open about 4 inches. Let your cheesecake hang out in this gentle warmth for another hour. This gradual cooling prevents those dreaded cracks that can ruin an otherwise perfect dessert.
After the oven time, let it cool completely at room temperature for about an hour, then refrigerate for at least 4 hours. Overnight is even better: patience pays off with cheesecake!
Pro Tips for Cheesecake Success
Room temperature ingredients are your best friend here. Cold cream cheese leads to lumpy filling, and nobody wants that. Plan ahead and take everything out of the fridge about an hour before you start.
When crushing your candy canes, place them in a sealed plastic bag and gently bash them with a rolling pin. This gives you more control over the size and prevents candy pieces from flying everywhere.
For ultra-clean slices, run your knife under hot water and wipe it clean between each cut. This simple trick gives you those picture-perfect slices that look straight from the restaurant.
Take It to the Next Level
Want to make this even more spectacular? Whip up some heavy cream with powdered sugar until you get stiff peaks, then pipe it around the edges of your chilled cheesecake. Top with extra peppermint bark pieces and crushed candy canes for a finish that'll have everyone reaching for their phones to snap photos.
You can also drizzle melted white chocolate over the top in decorative patterns, or dust with cocoa powder for an elegant touch.
Serving and Storage
This beauty serves 12-16 people generously: perfect for holiday gatherings or when you want dessert to last a few days. Store covered in the refrigerator for up to 5 days, though it rarely lasts that long!
The flavors actually improve after a day or two, as the peppermint bark softens slightly and melds with the creamy filling. Each slice delivers that perfect balance of cool peppermint, rich chocolate, and velvety cheesecake that makes this dessert absolutely irresistible.
Whether you're hosting a holiday party, bringing dessert to a family gathering, or just treating yourself to something special, this Peppermint Bark Cheesecake delivers all the indulgence and wow-factor of the restaurant version right from your own kitchen.
This recipe is inspired by Cheesecake Factory and is not affiliated with or endorsed by them.