Crumbl’s Benson Boone Moonbeam Ice Cream Cookie
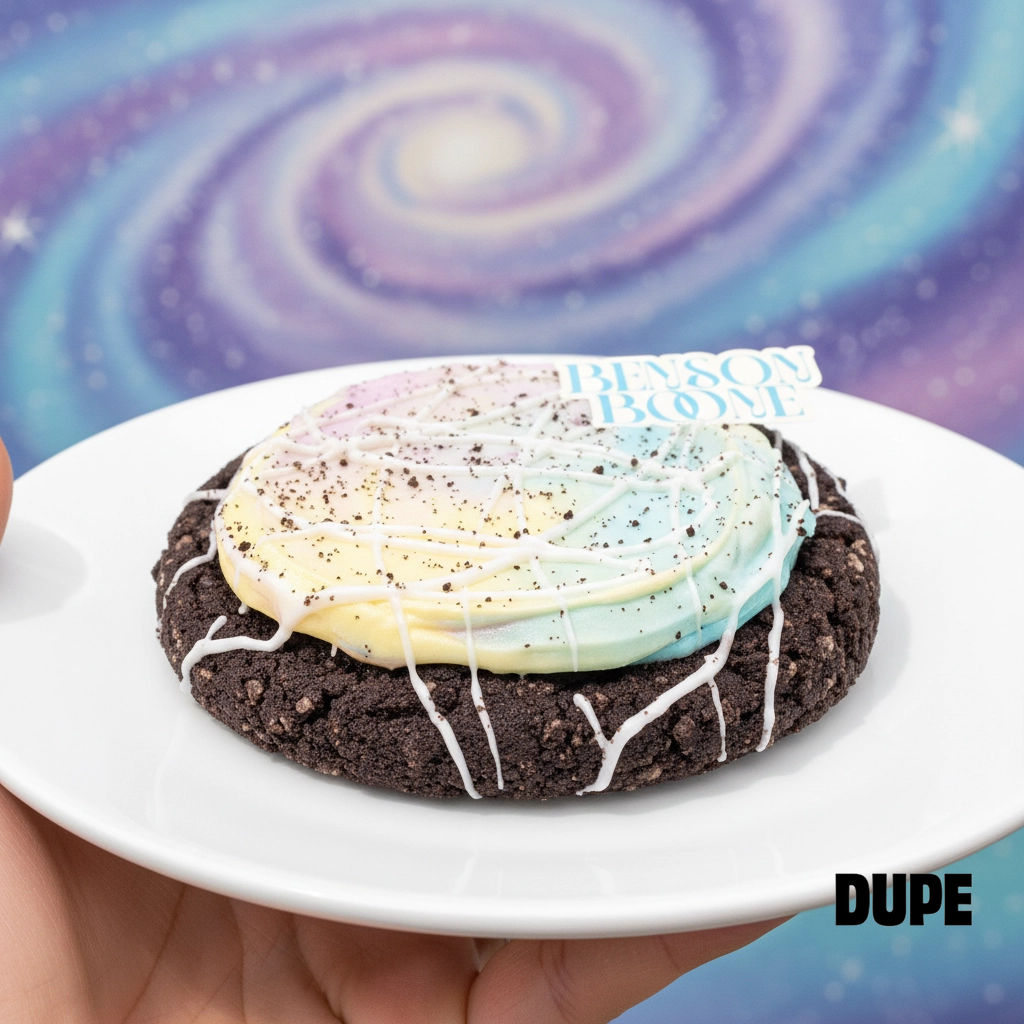
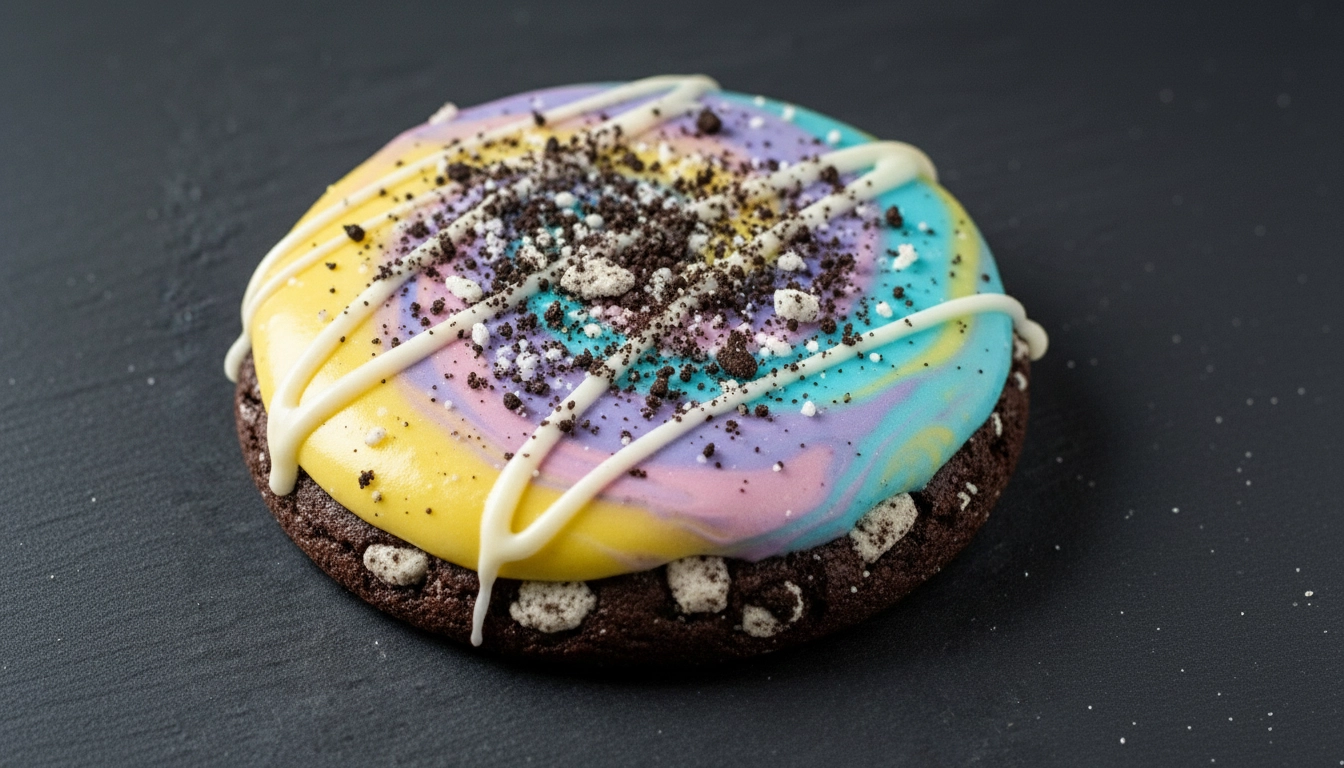
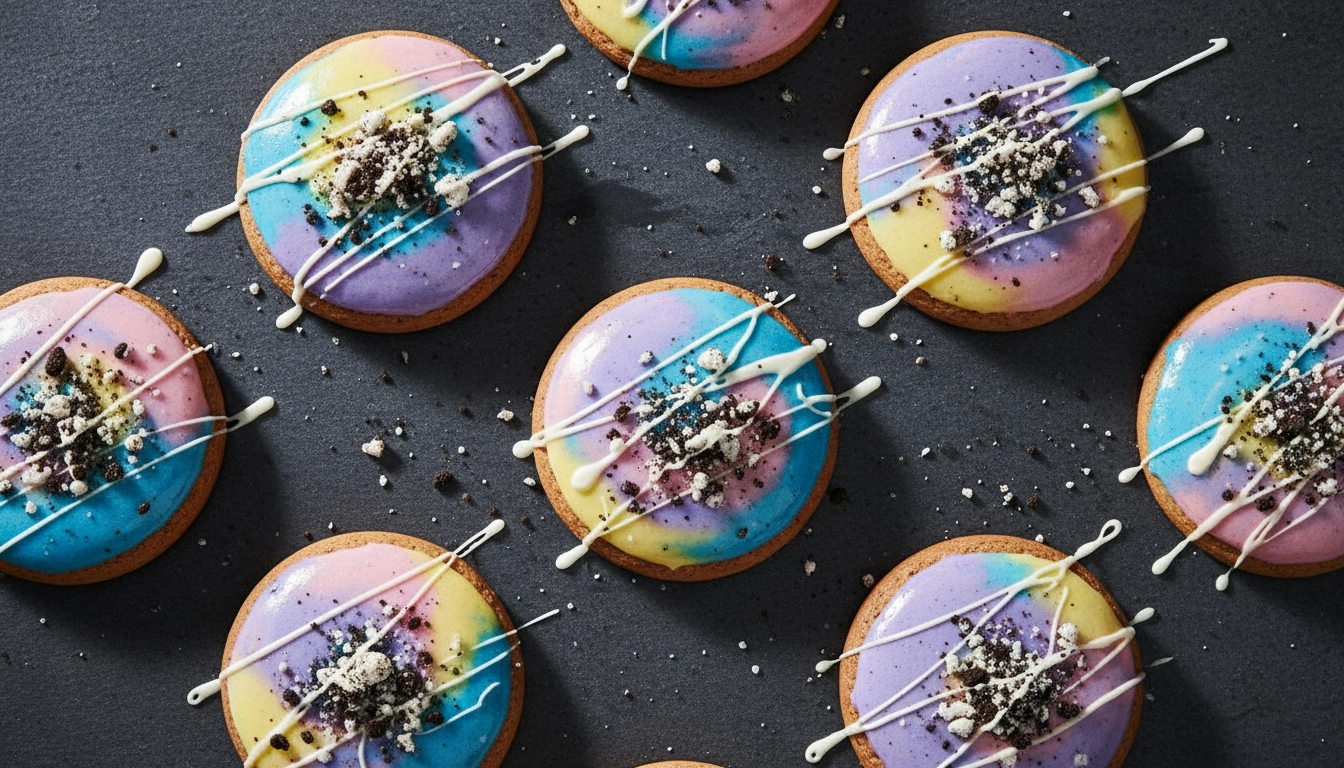
Ready to bring some serious moonbeam magic to your kitchen? Benson Boone’s Moonbeam Ice Cream Cookie went TikTok-viral for a reason—and you’re about to dupe it at home. Think a mystical, magical chilled chocolate cookie packed with cookies & cream pieces, crowned with vibrant moonbeam ice cream-inspired lemon, berry, and marshmallow toppings, finished with a sweet white drizzle and a final sprinkle of cookies & cream. The visual vibe is vibrant and mystical—energetic, playful, and full of bold pops of color.
This recipe is inspired by Crumbl Cookies and is not affiliated with or endorsed by them.
If you’ve been scrolling TikTok or Instagram wondering how to recreate this refreshing, creamy, tangy, and sweet cookie at home, you’re in the right place. We’ll walk you through easy steps so you can nail that chilled, ice cream-like finish in no time—hello budget-friendly, restaurant-quality results that look stunning and taste like the real deal.
What Makes This Cookie So Special?
Let’s talk about what makes this one feel truly mystical and magical. It starts with a chilled, rich, fudgy chocolate cookie packed with cookies & cream pieces—think Oreo vibes but even better—then it’s crowned with moonbeam ice cream-style toppings that bring lemon, berry, and marshmallow into a playful, vibrant swirl.
The frosting combines lemon zest for that bright, citrusy pop, mixed with berry flavors that give you those gorgeous pink and purple swirls. Add in some marshmallow fluff for that cloud-like texture, and you've got yourself a frosting that's as delicious as it is Instagram-worthy.
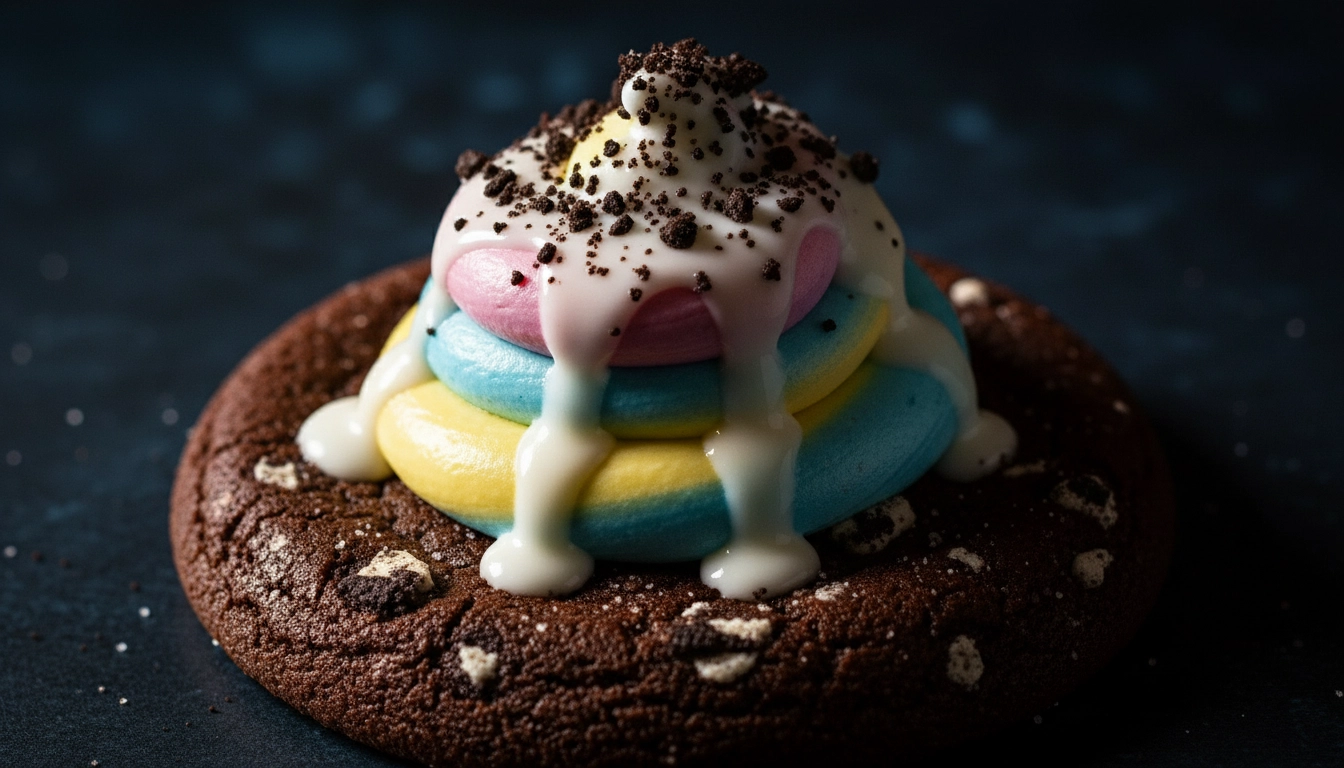
Then comes the final touch: a sweet white drizzle and an extra sprinkle of crushed cookies & cream to tie it all together. The best part? These cookies are served chilled for that refreshing, ice cream-like bite that’s unbelievably addictive and totally camera-ready.
Ingredients You'll Need
For the Chocolate Cookie Base:
- 1 cup unsalted butter, softened
- 1 cup brown sugar, packed
- ½ cup granulated sugar
- 1 large egg
- 1 teaspoon vanilla extract
- 1 cup all-purpose flour
- ½ cup unsweetened cocoa powder
- ½ teaspoon baking soda
- ¼ teaspoon salt
- 1 cup crushed cookies & cream pieces (Oreos work perfectly!)
For the Magical Tie-Dye Frosting:
- ½ cup unsalted butter, softened
- 1 cup marshmallow fluff
- 2 cups powdered sugar
- 1-2 tablespoons milk or heavy cream
- 1 teaspoon vanilla extract
- Zest of 1 fresh lemon plus 1-2 drops yellow gel food coloring
- 1-2 tablespoons blueberry jam or raspberry puree plus 1-2 drops blue gel food coloring
- 2-3 drops purple gel food coloring (optional, for deeper berry vibes)
For the White Chocolate Drizzle:
- ½ cup white chocolate chips
- 1 teaspoon coconut oil (optional, for extra smoothness)
Let's Make Some Cookie Magic
Step 1: Create Your Chocolate Cookie Foundation
Preheat your oven to 350°F and line two baking sheets with parchment paper. Trust me, you'll want that non-stick surface for these beauties!
In a large mixing bowl, cream together your softened butter with both sugars until the mixture is light, fluffy, and absolutely irresistible. This should take about 2-3 minutes with an electric mixer. Don't rush this step: proper creaming is what gives you that perfect cookie texture.
Add your egg and vanilla extract, beating until everything is smooth and well combined. The mixture should look creamy and unified.
In a separate bowl, whisk together your flour, cocoa powder, baking soda, and salt. Gradually mix these dry ingredients into your butter mixture on low speed, just until the dough comes together. Over-mixing is the enemy of tender cookies, so keep it gentle!
Here's where the fun begins: fold in those crushed cookies and cream pieces by hand. Keep some nice chunky pieces for that satisfying texture contrast that makes every bite interesting.
Step 2: Shape and Bake to Perfection
Using a large cookie scoop or a generous ¼ cup measure, portion out your dough into balls. Place them on your prepared baking sheets with about 2 inches of space between each one: these babies will spread a bit.
Pro tip: Pop your dough balls in the freezer for 20 minutes before baking. This helps them hold their shape and gives you those perfectly thick, bakery-style cookies.
Bake for 12-14 minutes, until the edges look set but the centers still appear slightly soft. They might look a tiny bit underbaked, but they'll continue cooking on the hot pan after you remove them from the oven.
Let them cool on the baking sheet for about 10 minutes, then transfer to a wire rack. Once they're completely cool, pop them in the fridge for at least 30 minutes. This chilling step is crucial for achieving that signature ice cream cookie texture!
Step 3: Create Your Dreamy Tie-Dye Frosting
Time for the real showstopper! Beat your softened butter until it's smooth and creamy. Gradually add your powdered sugar, alternating with splashes of milk until you have a thick but pipeable frosting consistency. Mix in that vanilla extract and marshmallow fluff for extra flavor depth.
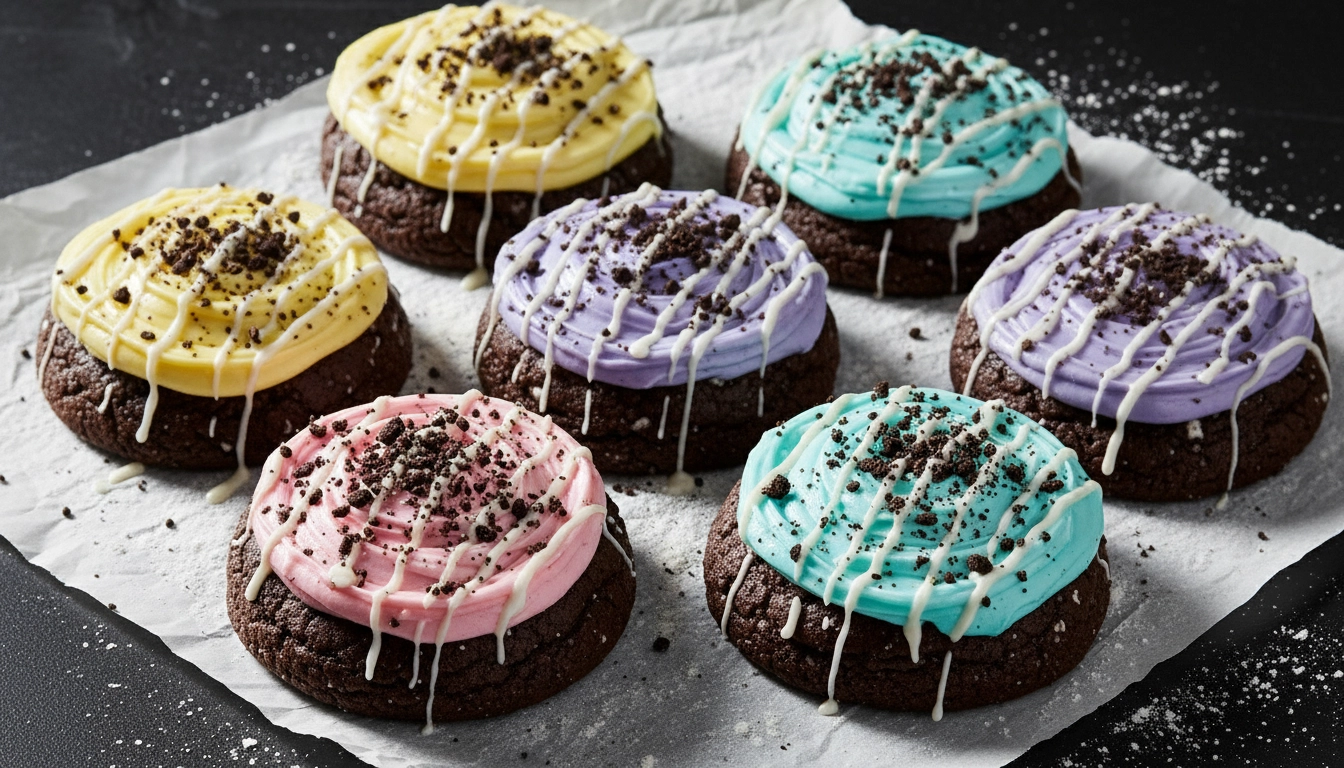
Now comes the artistic part: divide your frosting into three equal portions. In one bowl, mix in your lemon zest and yellow food coloring for that sunny swirl. In another, combine your berry jam or puree with blue (and optional purple) coloring for those gorgeous purple-pink tones. Keep the third portion white for contrast.
Step 4: Master the Tie-Dye Technique
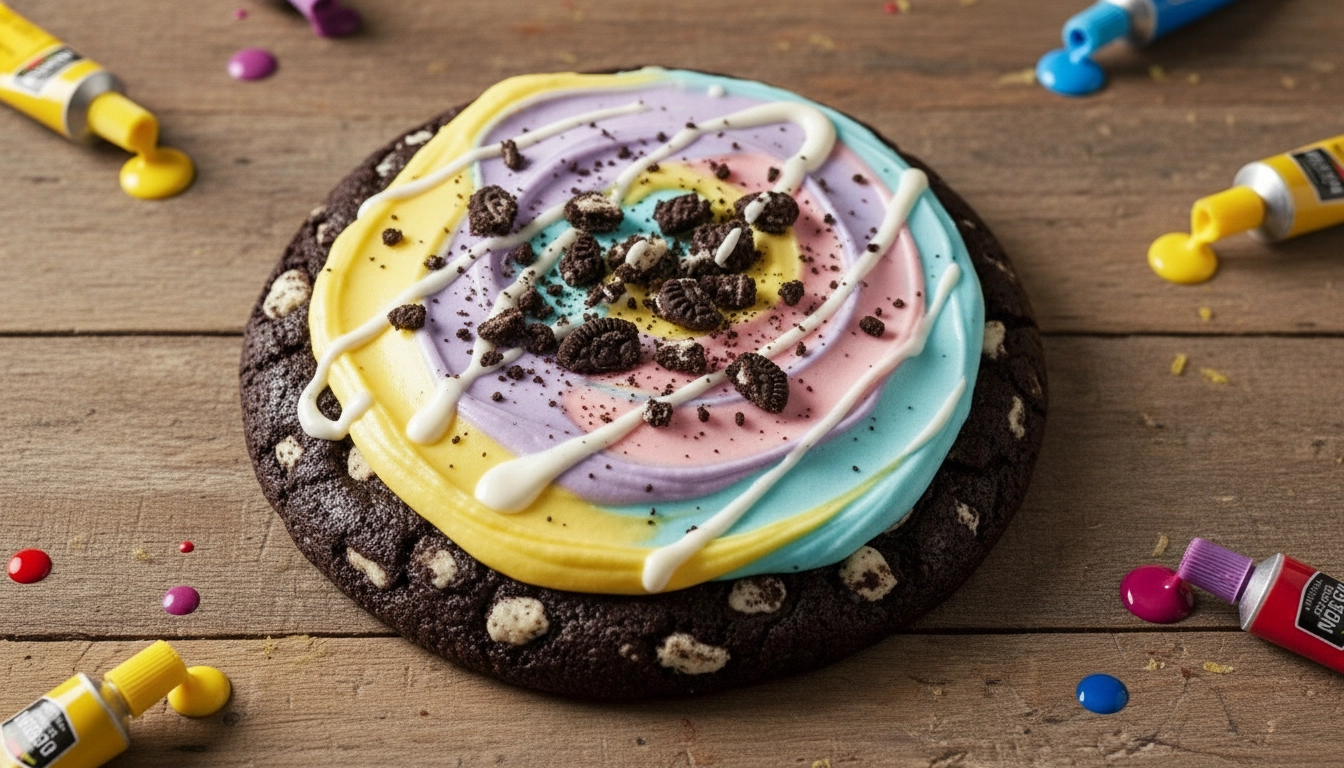
Here's the secret to getting those perfect swirls: lay out a piece of plastic wrap and spread your three colored frostings side by side in distinct stripes. Roll the plastic wrap tightly to form a log, then cut off one end and squeeze it all into a piping bag fitted with a large round tip.
When you pipe onto each cookie, all three colors will come out at once, creating those stunning tie-dye swirls that look like pure magic. You can gently blend the colors with a knife if you want a more marbled effect, but honestly, the natural swirl pattern is gorgeous on its own.
Step 5: Add That Final Touch
Melt your white chocolate chips in the microwave in 15-20 second intervals, stirring between each round to prevent burning. If you want an extra smooth consistency, add that coconut oil to the melted chocolate.
Let the chocolate cool slightly, then drizzle it over your frosted cookies using a fork, spoon, or squeeze bottle. The contrast against those colorful swirls is absolutely stunning and adds the perfect finishing touch.
Pro Tips for Instagram-Perfect Results
Want to take your cookies to the next level? Here are some insider secrets that'll make your batch absolutely picture-perfect:
Chill, Chill, Chill: Don't skip the chilling steps! Both the cookies and the final assembled treats benefit from some time in the fridge. It's what gives you that authentic ice cream cookie experience.
Color Confidence: Don't be afraid to make those colors bold! Gel food coloring gives you much more vibrant results than liquid food coloring, and a little goes a long way.
Lighting is Everything: When you're ready for that perfect Instagram shot, natural lighting is your best friend. Try photographing near a window during the day for those gorgeous, even colors.
Texture Play: Sprinkle some extra crushed cookies on top before the white chocolate drizzle sets for added visual interest and crunch.
Storage and Serving
These beauties are best enjoyed within the first few days, stored in an airtight container in the refrigerator. The chilled texture is part of what makes them so special, so resist the urge to leave them out at room temperature.
They're perfect for themed parties, dessert tables, or just when you want to treat yourself to something absolutely magical. Each cookie is basically a work of art, so don't be surprised when people are almost too amazed to eat them!
Whether you're making these for a special celebration or just because you deserve something amazing, this Moonbeam Ice Cream Cookie copycat recipe delivers all the wow factor of the original with the satisfaction of creating something beautiful in your own kitchen. Get ready for some seriously impressive results that taste just as incredible as they look!