DQ’s Cookies & Cream Blizzard
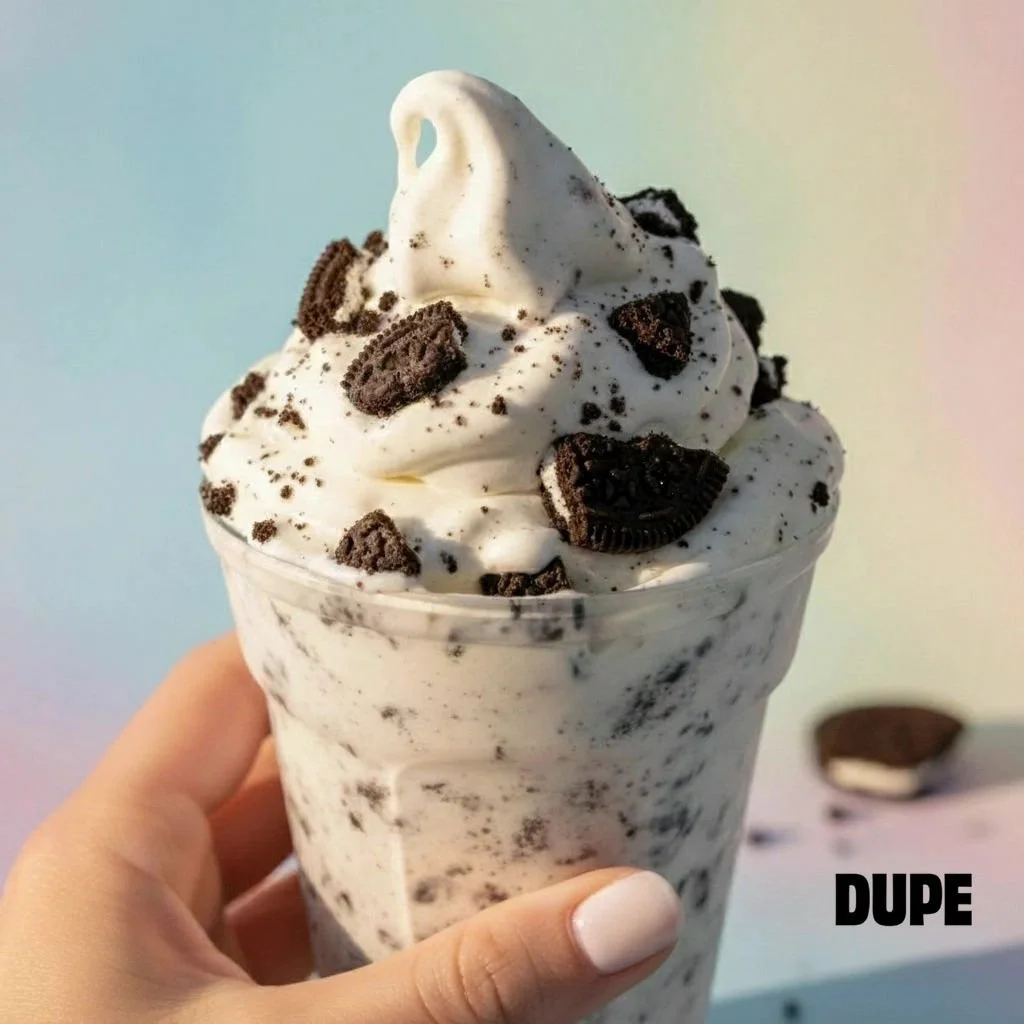
There's something absolutely magical about that first spoonful of a Dairy Queen Cookies and Cream Blizzard. You know the one: that perfectly thick, creamy vanilla ice cream studded with chunks of chocolatey Oreo goodness that somehow manages to defy gravity when they flip it upside down at the counter. But here's the thing: you don't need to make a special trip to DQ or spend nearly $6 for that nostalgic treat when you're craving it at 9 PM on a Tuesday.
I'm about to share the ultimate copycat recipe that'll have you making restaurant-quality Blizzards right in your own kitchen with just three simple ingredients you probably already have in your pantry. This easy restaurant recipe is not only budget-friendly, but it tastes so close to the real deal that you might actually prefer your homemade version.
Why Make Your Own Dairy Queen Blizzard?
Let's be real for a second: we've all been there. You're having one of those days where only a thick, creamy Blizzard will do, but the nearest Dairy Queen is 20 minutes away, or maybe you're trying to stick to a budget but still want that perfect sweet treat. That's where this budget-friendly copycat recipe comes to the rescue.
Making your own Cookies and Cream Blizzard at home means you control every ingredient. Want extra cookie chunks? Go for it. Prefer a richer vanilla flavor? Add a splash of pure vanilla extract. Plus, you can make it exactly when you want it, no drive-through lines required.
The best part? This recipe costs a fraction of what you'd spend at Dairy Queen, and you'll probably get enough for two or three servings instead of just one. Trust me, once you see how ridiculously simple this is, you'll wonder why you ever waited in line for a Blizzard again.
What Makes This Recipe Special
This isn't just any ice cream and cookies thrown together: we're talking about achieving that signature Dairy Queen texture that's thick enough to eat with a spoon but creamy enough to melt perfectly on your tongue. The secret is all in the technique and getting your ice cream to just the right consistency.
Unlike some complicated copycat recipes that require special equipment or hard-to-find ingredients, this one uses things you can grab at any grocery store. We're talking vanilla ice cream, Oreo cookies, and maybe a touch of vanilla extract if you want to get fancy. That's it. No ice cream maker, no fancy blenders required: just a few minutes and some simple mixing.
Ingredients You'll Need
Here's what you'll need for this amazing treat:
For the Base:
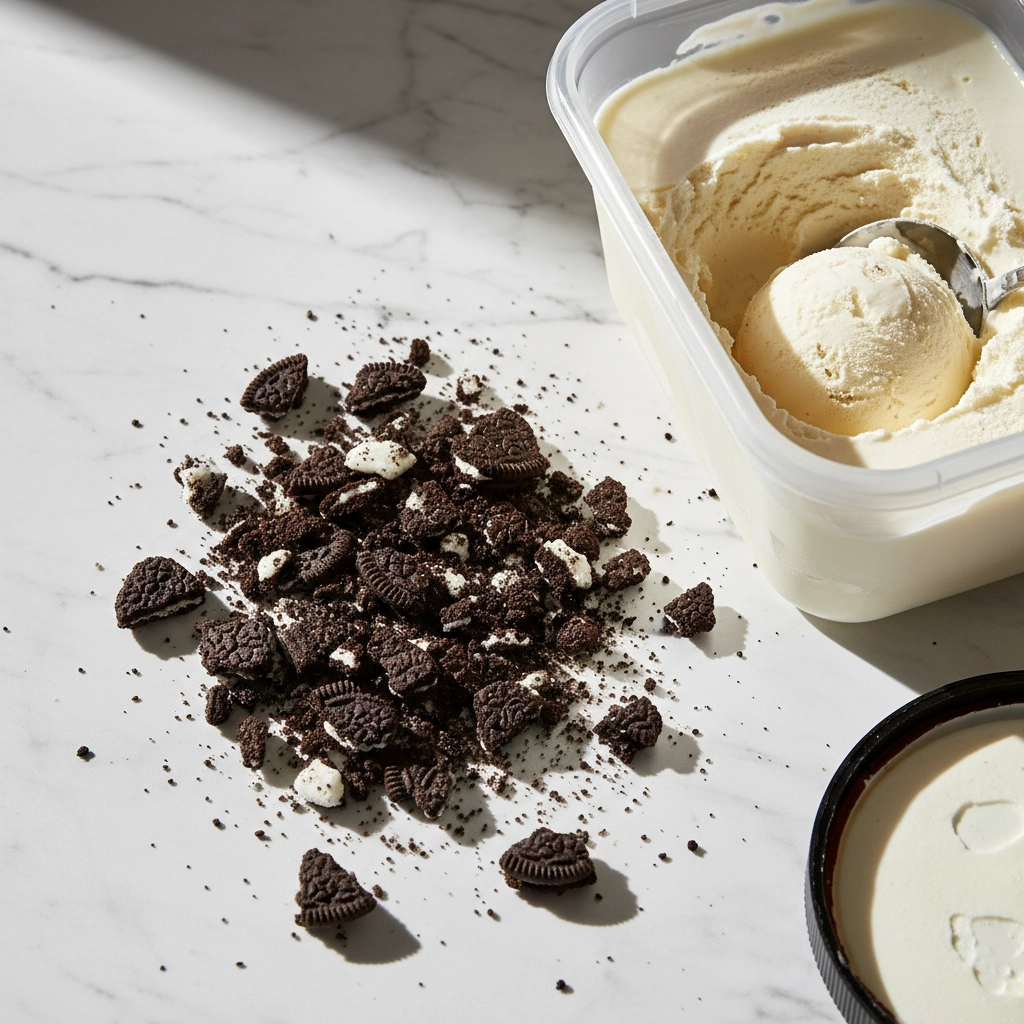
- 3 cups good-quality vanilla ice cream (I recommend letting it soften slightly)
- 6-8 Oreo cookies (regular or double-stuffed both work perfectly)
- 1 teaspoon pure vanilla extract (optional, but adds that extra something)
For Serving:
- Extra crushed Oreos for topping
- Whipped cream (if you're feeling extra)
The beauty of this recipe is its flexibility. Don't have exactly 8 Oreos? Use what you've got. Want it extra cookie-heavy? Throw in a couple more. This is your kitchen, your rules.
Step-by-Step Instructions
Step 1: Prep Your Ice Cream Take your vanilla ice cream out of the freezer and let it soften just slightly: about 5-10 minutes depending on how hard it is. You want it soft enough to mix easily but not melting into soup. If you're impatient like me, you can speed this up by scooping it into a bowl and letting it sit while you prep your cookies.
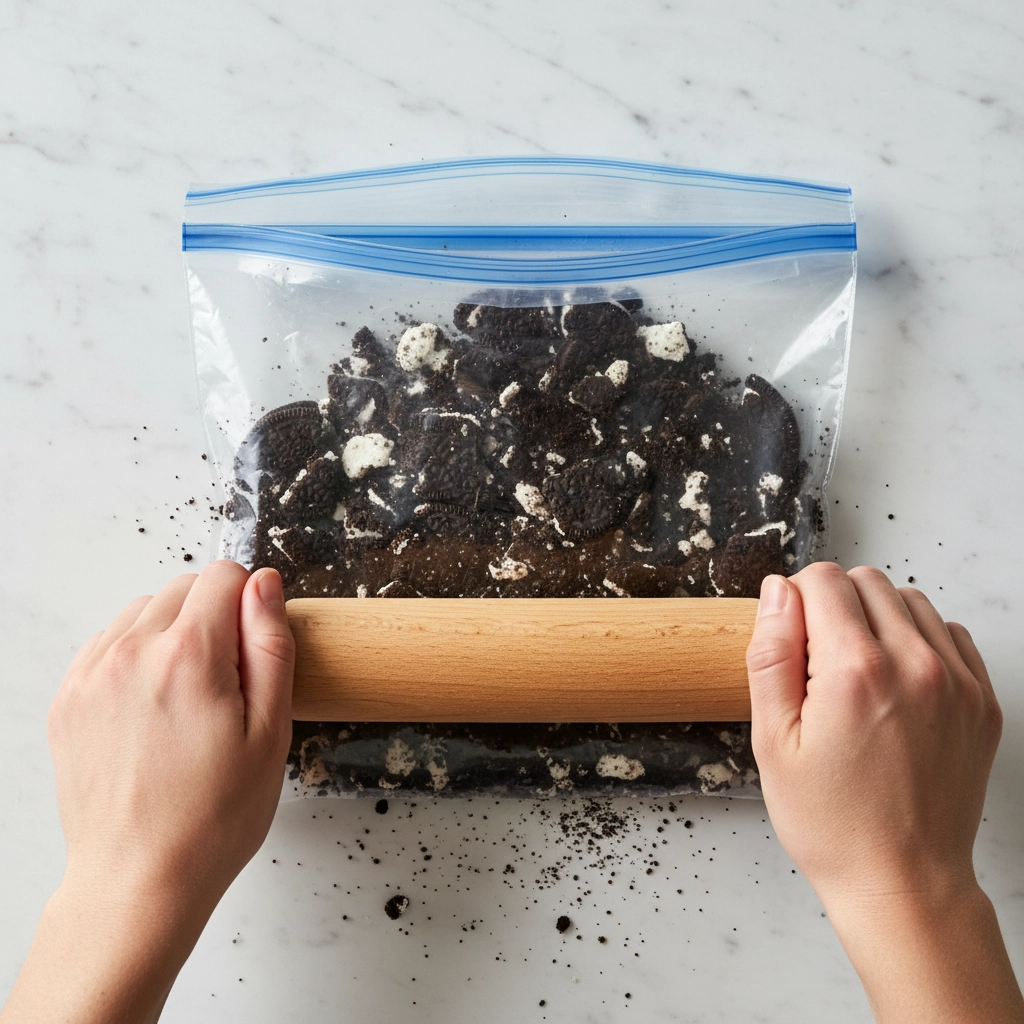
Step 2: Crush Those Cookies Here's where you can have some fun. Take your Oreo cookies and break them into chunky pieces. I like to put them in a sealed plastic bag and give them a few gentle whacks with a rolling pin or the back of a wooden spoon. Don't pulverize them: you want nice, bite-sized chunks that'll give you that authentic Blizzard experience.
Step 3: The Magic Mixing Add your softened ice cream to a large mixing bowl. Using a sturdy spoon or spatula, mix it until it reaches that perfect soft-serve consistency: thick but workable. If you have a stand mixer, you can use that on low speed for about 30 seconds, but honestly, hand-mixing works just fine.
Step 4: Fold in the Good Stuff Add about three-quarters of your crushed Oreos to the ice cream mixture. Gently fold them in: don't overmix or you'll end up with gray ice cream (trust me on this one). You want distinct cookie pieces throughout, just like at Dairy Queen.
Step 5: The Final Touch If you're using vanilla extract, add it now and give everything one final gentle stir. Taste and adjust: maybe you want more cookies, maybe it needs just a pinch more sweetness.
Pro Tips for Perfect Results
Temperature is Everything: Your ice cream should be soft enough to mix but cold enough to hold its shape. If it gets too melty, just pop it in the freezer for 10-15 minutes before serving.
Cookie Prep Matters: Don't make your cookie pieces too small: you want that satisfying crunch in every bite. Aim for pieces about the size of a dime.
Serve Immediately: Unlike store-bought ice cream, this mixture is best enjoyed right away when it has that perfect soft-serve texture.
Storage Hack: If you need to store leftovers, transfer to an airtight container and let it soften again before scooping. It might not be quite as perfect as fresh, but it's still delicious.
Customization Ideas
One of the best things about making your own Blizzard is getting creative with flavors. Here are some variations that'll knock your socks off:
Mint Cookies and Cream: Use mint Oreos instead of regular ones for a refreshing twist that's perfect for summer days.
Peanut Butter Paradise: Add a tablespoon of creamy peanut butter to your ice cream base and mix in some crushed Nutter Butter cookies along with the Oreos.
Double Chocolate Dream: Use chocolate ice cream as your base and add both Oreos and chocolate chips for the ultimate chocolate lover's treat.
Birthday Cake Blizzard: Mix in some funfetti cake mix powder and colorful sprinkles for a celebration-worthy dessert.
Making It Even More Budget-Friendly
Want to stretch this recipe even further? Buy ice cream in bulk when it's on sale and portion it out. Generic Oreos work just as well as name-brand ones, and you can often find them for half the price. Making this at home typically costs about $1.50 per serving versus $5-6 at Dairy Queen: that's savings you can actually taste.
You can also make this in larger batches if you're feeding a crowd. Just multiply the ingredients and use a large mixing bowl. It's perfect for birthday parties, family gatherings, or those days when you just want to be the hero who brings everyone their favorite dessert.
The Perfect Finish
Scoop your homemade Blizzard into chilled bowls or tall glasses and top with those reserved cookie crumbs. The contrast of the creamy base with the crunchy cookie pieces is what makes this dessert absolutely irresistible. Serve it with a sturdy spoon and watch everyone's faces light up when they take that first bite.
This Dairy Queen copycat recipe proves that some of the best restaurant favorites can be made even better at home. You get all the satisfaction of that classic Cookies and Cream Blizzard flavor with the convenience of making it whenever the craving hits. Plus, you'll save money and probably have enough left over for seconds: which, let's be honest, you're definitely going to want.
Ready to make more of your favorite restaurant treats at home? Check out our other copycat recipes for more budget-friendly ways to satisfy those cravings without leaving the house.