Piroshki Piroshki’s Potato & Cheese Piroshki

Ever walked past Piroshky Piroshky in Seattle and wondered how they make those ridiculously good potato and cheese hand pies? You know the ones, those pillowy soft pastries stuffed with creamy, cheesy potato goodness that practically melt in your mouth. Well, guess what? You don't need to book a flight to the Pacific Northwest to get your fix anymore!
This copycat recipe brings all that Seattle bakery magic straight to your kitchen, and honestly? It might just taste better than the original. We're talking about budget friendly copycat recipes that'll save you serious cash while satisfying that craving for authentic Russian comfort food.
Why Make Piroshky Piroshky's Potato & Cheese at Home?
Let's be real: those little hand pies aren't exactly cheap when you're buying them individually. But when you make them at home, you're looking at maybe $8-10 total to make a whole batch that feeds your family (or just you, no judgment here). Plus, you control exactly what goes into them, and you can make them as cheesy as your heart desires.
These easy restaurant recipes are perfect for meal prep too. Make a big batch on Sunday, freeze half, and you've got homemade comfort food ready to reheat whenever the craving hits. And trust me, the craving will hit.

What Makes These Piroshki So Special?
The secret is in that soft, slightly sweet dough that's somewhere between bread and pastry. It's tender enough to bite through easily but sturdy enough to hold all that creamy potato and cheese filling without falling apart. The filling itself is pure comfort: think the best mashed potatoes you've ever had, but with melted cheese and just enough seasoning to make your taste buds dance.
Ingredients You'll Need
The beauty of this recipe is that you probably already have most of these ingredients hanging out in your kitchen right now. No fancy specialty items or hard-to-find ingredients: just good old grocery store staples.
For the Dough:
- 1/4 cup mayonnaise (trust me on this one)
- 2 tsp canola oil
- 1½ tsp salt
- 3/4 cup warm whole milk
- 3/4 cup warm water
- 1 tablespoon active dry yeast
- 1½ tablespoons granulated sugar
- 4 cups all-purpose flour, sifted
For the Potato & Cheese Filling:
- 2½ lbs russet or Yukon potatoes
- 1 cup shredded sharp cheddar cheese (or your favorite melting cheese)
- 3 tablespoons sour cream
- 4 tablespoons unsalted butter
- ½ medium yellow onion, finely diced
- 2 tablespoons fresh dill (or 1 tablespoon dried)
- Salt and black pepper to taste
For the Egg Wash:
- 1 large egg
- 1 teaspoon whole milk
Let's Make Some Magic Happen
Step 1: Get That Dough Started
In a large mixing bowl, whisk together your mayo (I know it sounds weird, but it makes the dough incredibly tender), oil, salt, warm milk, and warm water. The liquid should feel like a nice warm bath: not hot enough to kill the yeast, but warm enough to wake it up.
Sprinkle the yeast over the liquid, then add the sugar right on top. Give it a gentle stir and let it sit for about 5 minutes. You'll know it's ready when it gets all foamy and bubbly: that's your yeast saying "let's do this!"
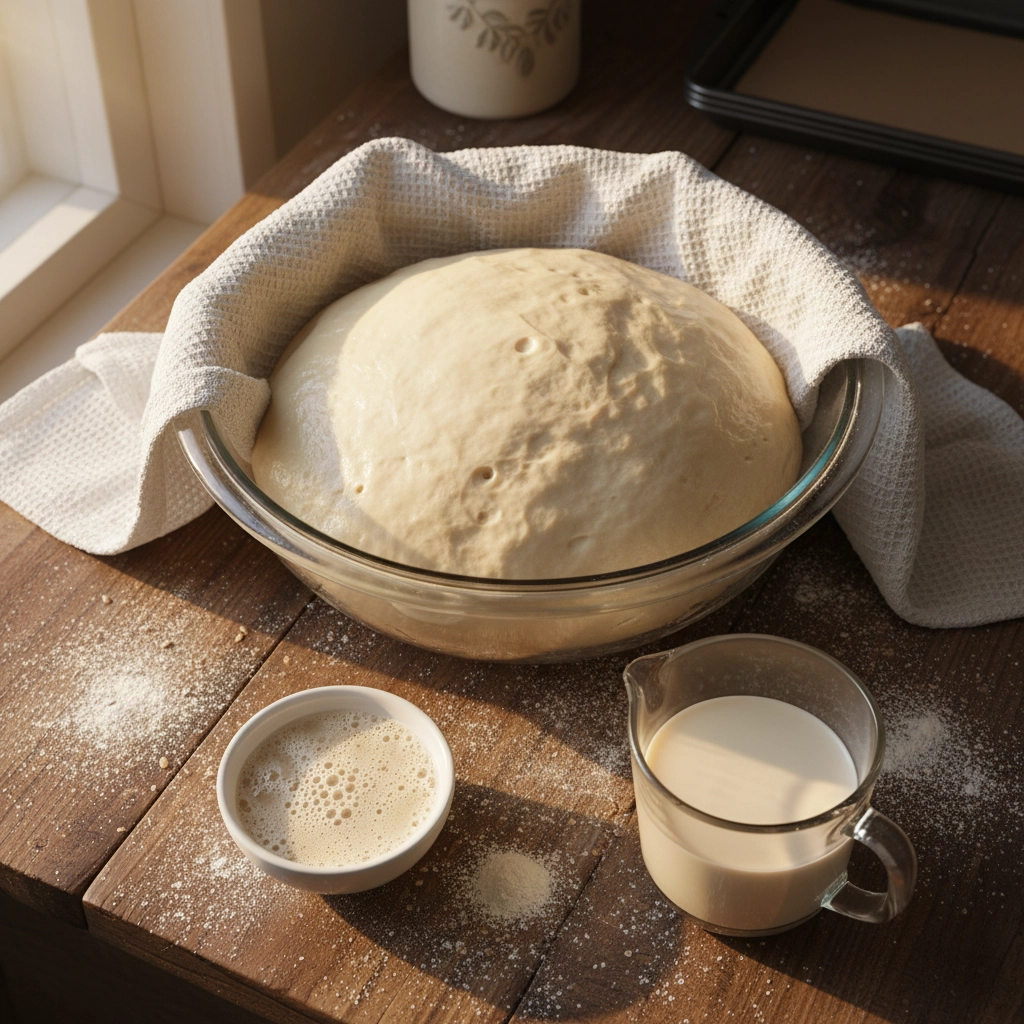
Gradually add the sifted flour, stirring as you go. The dough will start shaggy but come together into a soft, slightly sticky ball. Cover with plastic wrap and a kitchen towel, then let it rise in a warm spot for 1½ to 2 hours until it doubles in size.
Step 2: Create That Dreamy Filling
While your dough is doing its thing, let's tackle that filling. Peel and chunk your potatoes into evenly sized pieces: this helps them cook uniformly. Toss them in a pot, cover with salted water, and bring to a boil. Cook until they're fork-tender, about 15-20 minutes.
Meanwhile, melt your butter in a skillet over medium heat and sauté that diced onion until it's soft and golden. The smell alone will have you questioning why you ever buy takeout.
Drain your potatoes well (nobody wants watery filling) and let them cool for a few minutes. Mash them until smooth: a few small lumps are fine, but you want them mostly creamy. Mix in the sautéed onions, sour cream, shredded cheese, and fresh dill. Season generously with salt and pepper, then taste and adjust. This filling should be ridiculously good on its own.
Step 3: Assembly Time
Preheat your oven to 375°F. This is where the magic happens!
Once your dough has doubled, punch it down gently and divide it into about 20 equal pieces. I like to cut it in half, then half again, and keep going until I've got roughly equal portions. Don't stress about perfection: rustic is beautiful.
On a lightly floured surface, roll each piece into an oval about 5-6 inches long. Spoon a generous portion of filling (about 2-3 tablespoons) onto one half of each oval, leaving a border around the edges.
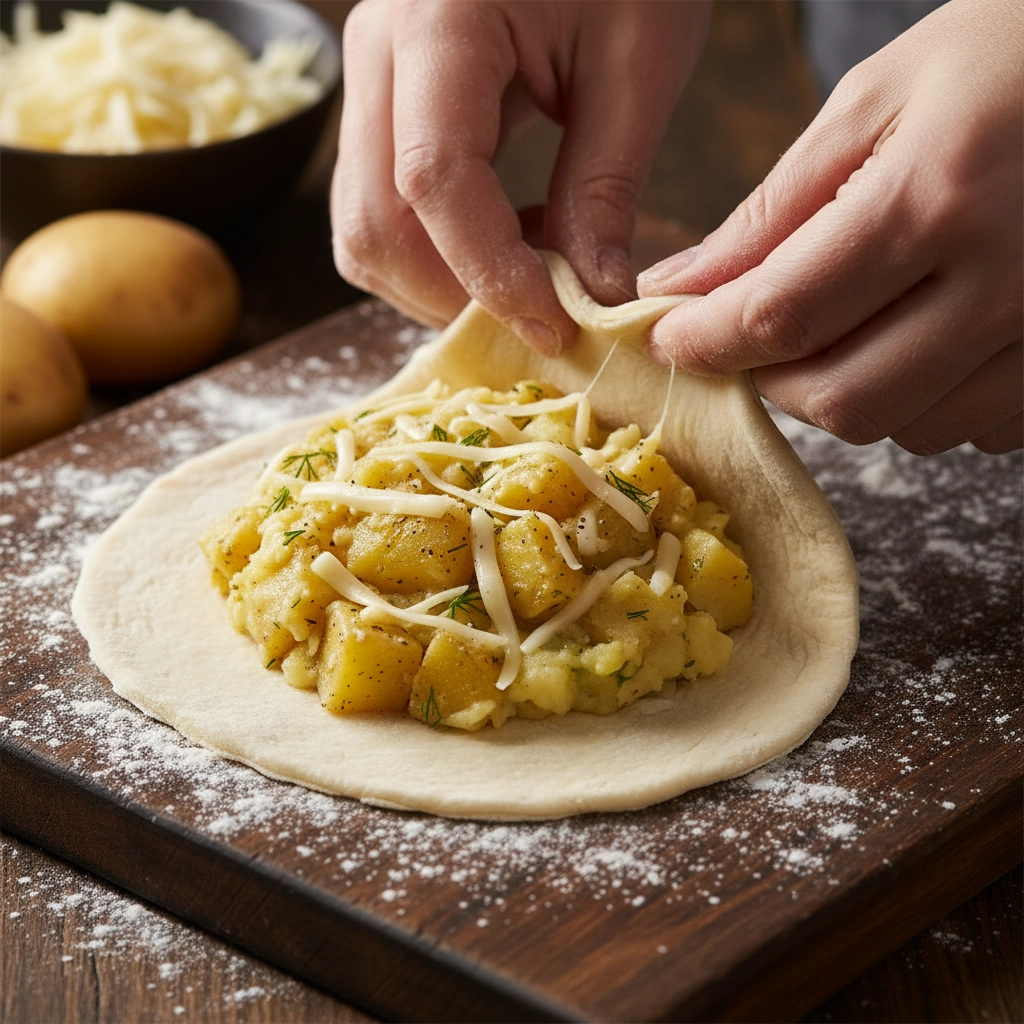
Here's the key to perfect piroshki: fold the dough over the filling and pinch the edges firmly to seal. Start at one end and work your way around, making sure there are no air pockets trapped inside. Flip each one over so the seam side is down and place on a parchment-lined baking sheet.
Step 4: The Final Touch
Whisk together your egg and milk to create that golden egg wash. Brush each piroshky generously: this is what gives them that gorgeous bakery shine. Let them rest for another 30 minutes to puff up slightly.
Bake for 18-22 minutes, until they're golden brown and sound hollow when you tap the bottom. The smell will be absolutely intoxicating, and your kitchen will feel like a cozy Russian bakery.
Pro Tips for Piroshky Perfection
Make-Ahead Magic: These freeze beautifully! After assembling but before the final rise, place them on a baking sheet and freeze solid. Transfer to freezer bags and they'll keep for up to 3 months. Bake straight from frozen, adding 5-10 extra minutes to the cooking time.
Customize Your Filling: Once you've mastered this classic combo, try mixing things up. Add some crispy bacon bits, swap the cheddar for gruyere, or throw in some chopped green onions. Some people even add a bit of cream cheese for extra richness.
Dough Day Prep: You can make the dough a day ahead and let it rise slowly in the refrigerator overnight. Just bring it to room temperature before rolling and assembling.
Leftover Love: These reheat beautifully in a 350°F oven for about 10 minutes. Way better than the microwave, which can make them soggy.

Serving Suggestions That'll Blow Your Mind
These potato and cheese piroshki are perfect on their own, but they're also amazing served alongside a simple green salad or some tangy pickles. The acidity cuts through the richness beautifully.
For a true Seattle experience, pair them with a strong cup of coffee or black tea. They also make incredible breakfast treats: who says you can't have cheese and potatoes for the most important meal of the day?
If you're feeling fancy, serve them with a dollop of sour cream mixed with fresh herbs, or even a simple garlic aioli for dipping.
The Bottom Line on These Budget-Friendly Beauties
Making restaurant-quality piroshki at home isn't just about saving money (though you'll definitely do that). It's about bringing that cozy, comforting feeling of a neighborhood bakery right into your own kitchen. These easy restaurant recipes prove that you don't need to be a professional chef to create something absolutely delicious.
The best part? Once you get the hang of the technique, you can experiment with all sorts of fillings. But honestly, this potato and cheese combination is so perfectly balanced and comforting that you might never want to stray from the original.
So next time you're craving those famous Seattle hand pies, skip the plane ticket and fire up your oven instead. Your wallet (and your taste buds) will thank you!
This recipe is inspired by Piroshky Piroshky and is not affiliated with or endorsed by them.